I found this tutorial a few months back about how to make paper boxes out of any sheet of paper. I haven't really had a practical use for it because so far, my desk organizer is working (throw everything in my drawer!) and I used to have an abundant supply of tissue paper rolls (and turn them into pillow boxes) for my small trinket/candy giving, but I ran out; so I had to think of a way to give out prizes for my org's monthly friday youth fellowship. Lo and behold! I had a use for the boxes!
Making them's easy-peasy! Let's get started!
Tools
Materials
Steps
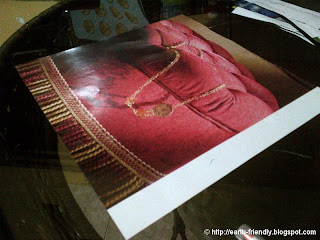
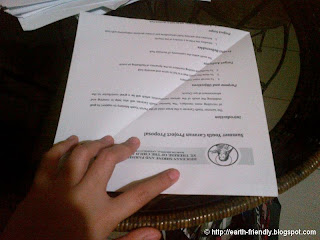
1. Make a square out of your paper.
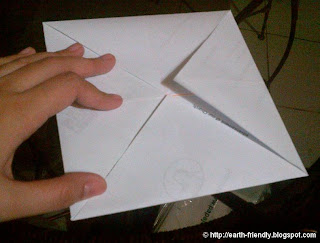
If it's already square to begin with, fold one corner towards it's opposite corner2. Fold the other corner towards its opposite corner
You should have an X-shape on your paper because of the fold. I labeled the fold with an orange pen to guide you.3. Get one corner of the paper and fold it to the center. Repeat for the other corners
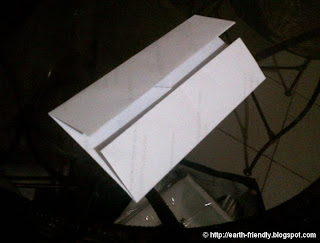
4. Fold one side of the square towards the center.
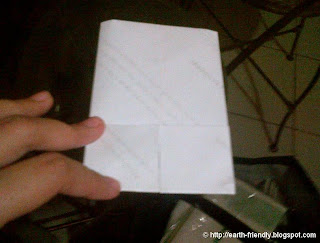
This will create a wide rectangle Repeat for the other side to make a slim rectangle5. Flip the paper over. Fold one of the short sides of the rectangle towards the center. Repeat for the other side
6. Open your paper.
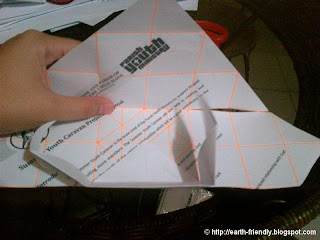
Your paper should have a lot of small squares because of the folding. These squares will be your guide lines for making the box.7. Snip on the 2 corners of your paper as shown below.
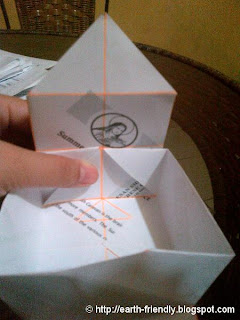
Make sure not to cut along the squares marked with an X (center squares). After cutting, you should be able to identify 2 triangle parts and 2 tower parts on your paper.8. On one of the triangle parts, fold the corner tip, down towards the center squares.
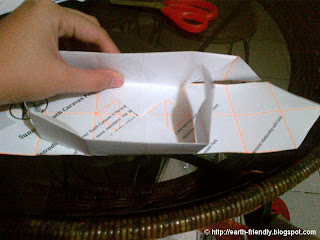
When folding down, you will fold the small triangle (corner, tip) and 1 set horizontal set of squares. This will create one side of your box.9. Take the 2 flaps on either side of the folded down side, and fold 90 degrees.
This will help in sealing and connecting the sides of your box.10. Repeat step 8 -9 for the 2nd triangle part
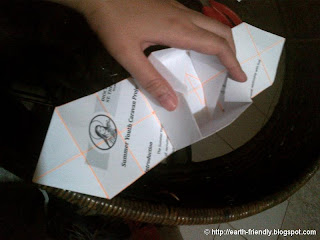
11. Take one of the tower parts on fold the corner tip towards the center of the box.
Make sure that the extra flaps made in steps 8-10 are inside the folded tower. Repeat for the other tower.12. To make a lid
Repeat steps 1-11 with a slightly bigger paper (around 1mm bigger along the sides)It would be nice to use a different colored paper/magazines to create contrast in colors
|
|
Tweet |















No comments:
Post a Comment