Showing posts with label all. Show all posts

Monday, August 13, 2012

Waste Plants and Green Coal

Zehira USA, through its local subsidiary, Integrated Green Technology Visayas Inc. will start building a state-of-the-art garbage disposal system in Mactan, Cebu. This garbage disposal system will break-down garbage and convert these to green coal, which can be used by coal-fired plants. Similar systems are also being considered to be built in the municipalities of Molave in Zamboanga del Sur, Midsayap in North Cotabato, and Galan in Sarangani, and Panabo City in Davao del Norte

Stabilat Technology, which is the technology that will be used for the garbage disposal system is from a German company called Herhof GmbH which specializes in the design, construction and operation of Stabilat plants.

For more information on this project: http://newsinfo.inquirer.net/242311/mactan-waste-plant-to-produce-green-coal

Wednesday, August 8, 2012

Plastic Bottle Boat

Here's a pretty good use for plastic bottles:

Very useful in floods, especially the one now ravaging the Philippines.


Wednesday, April 4, 2012

Biggest Earth Hour Yet. Philippines, A Hero Country


It's been a few days since we celebrated Earth Hour. The tallies are in, and an estimated 1671 RP Cities, Towns, Provinces and Municipalities of the Philippines joined Earth Hour, making the Philippines the country with the most number of cities (et.al) who joined. RECORD BREAKING! We've been awared "Hero Country" as we have been number 1 for  four consecutive years; since we joined in Earth Hour. IMBA talaga ang Pinoy. (Filipinos are really good/one-of-a-kind)

Learn More Here: http://www.wwf.org.ph/earthhour/

Sunday, April 1, 2012

What did you do during the Earth Hour?

So, what did you do? Some people (like me for instance), don't go out to earth-hour celebrations. I just stay at home and try to do something productive under the moon- and candle-lit night.

This Earth Hour, I decided that I wanted to have a candle-lit dinner date. Haven't experienced it at all, and I thought it would be fun. So, as soon as SDEHBF (super duper extra hot bf) arrived at my place (around 1830), I asked him to help me out with preparing our date food. We didn't want to go for rice since we were trying to trim down our waistlines. Turned out, rice might have been a more low-calorie choice! Haha!

Our menu last night:
Deviled Eggs
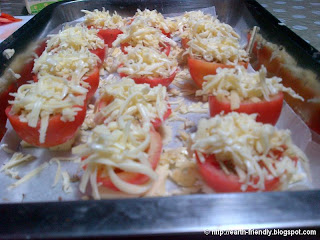
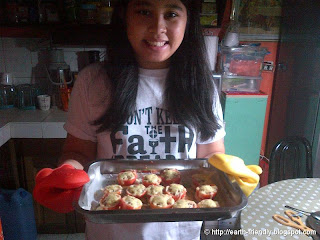
Herbed Tomato Gratin
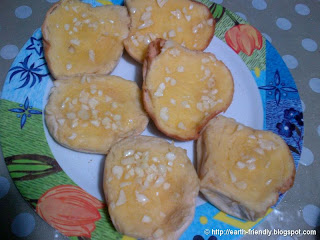
Garlic Bread
Banana-Mango Dessert-y (No idea what to call it)
Grape-Lemonade + Soda + Gin Punch

  • Candle-lit Dinner


We had so much fun making the food before earth hour. It was all spur of the moment, and what was tough was we didn't have the same taste in food (well, the ones we were preparing anyway). I wanted the deviled eggs spicy and tangy. He didn't want it to be spicy. I want the tomatoes to be infused with a strong herb flavor. He didn't want a strong herb flavor. Everything turned out great afterwards anyway. Yummy! We made too much food it was good for 4, but we ate most of it! So much for our waistlines!

Deviled Eggs:


  • Spices
  • Best Foods Mayonnaise
  • Spiced Mayo
  • Halving Eggs
  • Removing Eggshells
  • De-yolking
  • Deviled Egg Whip
  • Egg Whites
  • Filling the Eggs


Herbed Tomato Gratin:

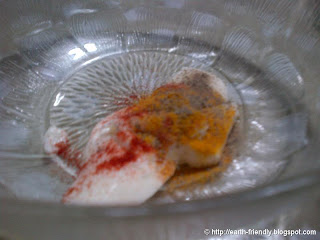
  • Herbs
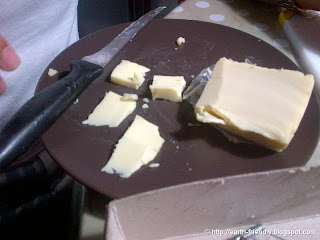
  • Cheese
  • Grated Cheese
  • Cheese Base
  • Mixed Herbs
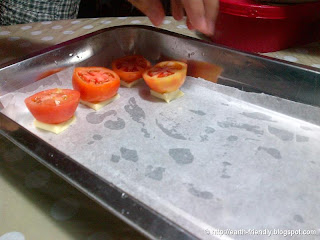
  • Tomato + Base
  • Tomato + Base
  • Tomato + Base
  • Tomato + Herbs
  • Tomato + Cheese
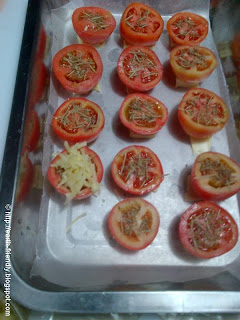
  • Tomato Gratin
  • Toasted Tomato Gratin


Garlic Bread

  • Softened Butter
  • SDEHBF
  • Chopping Garlic
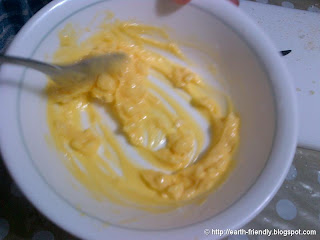
  • Garlic Butter
  • Mix Garlic Butter
  • Garlic Bread

Banana-Mango Dessert-y (No idea what to call it)

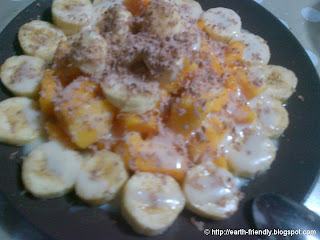
  • Mangoes and Bananas
  • Condensed Milk + Chocolate
  • Plating Fruits
  • Fruit Arrangement
  • He's so artistic
  • Drizzle Milk
  • Grate Chocolate
  • Lacks Color
  • Add Choco Syrup
  • Dessert should come first!

Grape-Lemonade + Soda + Gin Punch

  • Left over Gin + Sprite
  • Grape Lemonade

So this was how I spent my Earth Hour. How did you?

Saturday, March 31, 2012

Earth Hour Philippines

In just a few hours, it\s already Earth Hour.

Just reminding everyone to switch-off your lights at 8:30 PM  - 9:30 PM Tonight!

I forgot to post my IWIYW pledge, so I'm posting it here now:


Friday, March 30, 2012

Green-tionary

I'm launching a Green-Tionary here in my blog. It's a dictionary of terms that are commonly used when we're talking green stuff. Some of the words, we can easily understand, some have a different meaning when use in green-speak than the original meaning of the word.

It's still incomplete, as I haven't had the time to put the meaning of all the words in lay-man's terms. Help me expand this dictionary. If you have words to add, alternative meanings to the word, or maybe even a correction on some of the words or their meanings, just hit the comment box here, or at the Green-tionary page.

Emjoy!

http://earth-friendly.blogspot.com/p/green-tionary.html


Thursday, March 29, 2012

How To: Origami Box

Did you ever have a small trinket to give but found yourself wondering how to wrap it? Or did you just want a box to declutter your desk without buying expensive boxes and desk organizers? Well then, you're in luck cause today, I will teach you how to make your own paper box without the mess of glue!

I found this tutorial a few months back about how to make paper boxes out of any sheet of paper. I haven't really had a practical use for it because so far, my desk organizer is working (throw everything in my drawer!) and I used to have an abundant supply of tissue paper rolls (and turn them into pillow boxes) for my small trinket/candy giving, but I ran out; so I had to think of a way to give out prizes for my org's monthly friday youth fellowship. Lo and behold! I had a use for the boxes!

Making them's easy-peasy! Let's get started!

Tools
  • Orange Scissors


Materials
  • Scrap Paper
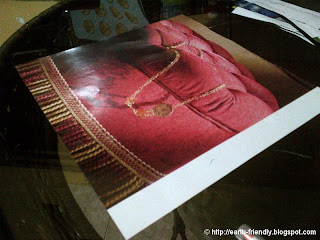
  • Magazine Page


Steps

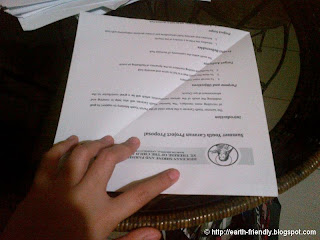
1. Make a square out of your paper.

If it's already square to begin with, fold one corner towards it's opposite corner
  • Fold a big triangle
  • Fold out the excess rectangle
  • Excess Rectangle
  • Cut Rectangle
  • Square Paper


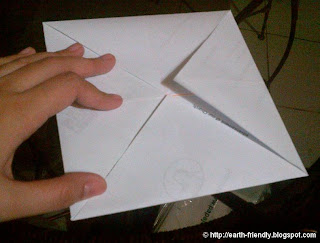
2. Fold the other corner towards its opposite corner

You should have an X-shape on your paper because of the fold. I labeled the fold with an orange pen to guide you.
  • Another Triangle Fold
  • X-shape fold


3. Get one corner of the paper and fold it to the center. Repeat for the other corners
  • Corner to Center Fold
  • All corners to center


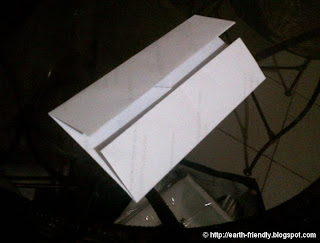
4. Fold one side of the square towards the center.

This will create a wide rectangle Repeat for the other side to make a slim rectangle
  • Wide Rectangle
  • Slim Rectangle


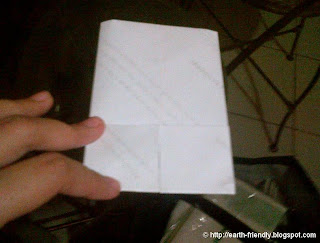
5. Flip the paper over. Fold one of the short sides of the rectangle towards the center. Repeat for the other side

  • Current Side
  • Flipped Side
  • Short to center
  • Other Short to Center


6. Open your paper.

Your paper should have a lot of small squares because of the folding. These squares will be your guide lines for making the box.

  • Open folds


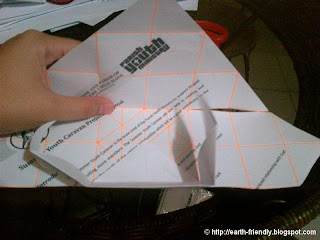
7. Snip on the 2 corners of your paper as shown below.

Make sure not to cut along the squares marked with an X (center squares). After cutting, you should be able to identify 2 triangle parts and 2 tower parts on your paper.

  • Snip corners
  • Triangle Part
  • Tower Part


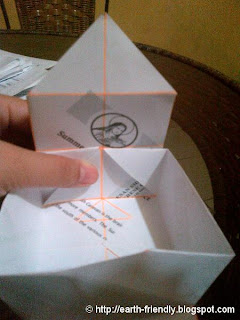
8. On one of the triangle parts, fold the corner tip, down towards the center squares.

When folding down, you will fold the small triangle (corner, tip) and 1 set horizontal set of squares. This will create one side of your box.

  • Triangle Part
  • Corner tip to center
  • Secure fold
  • What it should look like


9. Take the 2 flaps on either side of the folded down side, and fold 90 degrees. 

This will help in sealing and connecting the sides of your box.

  • Fold 90 deg


10. Repeat step 8 -9 for the 2nd triangle part

  • Triangle Part 2
  • Corner tip to center
  • Fold sides 90 deg
  • How it should look like


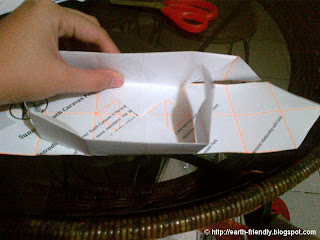
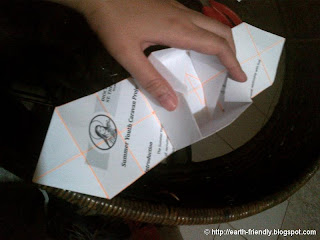
11. Take one of the tower parts on fold the corner tip towards the center of the box. 

Make sure that the extra flaps made in steps 8-10 are inside the folded tower. Repeat for the other tower.
  • Tower 1
  • Tower 1
  • Corner tip to center
  • Tower 2
  • Tower 2
  • Corner tip to center


12. To make a lid

Repeat steps 1-11 with a slightly bigger paper (around 1mm bigger along the sides)
It would be nice to use a different colored paper/magazines to create contrast in colors