Showing posts with label magazine recycling. Show all posts

Sunday, October 9, 2011

How to Make a Paper Coil Coaster

I've been wanting to make a recycled paper coaster for some time now but I haven't had the luxury of time to do it, so I took advantage of the free time I had yesterday and decided to make my paper coaster. 

Over the Internet you can see magnificent coasters made from magazines and news papers. Since I'm not subscribed to any magazine and newspaper (I'm reserving the few magazines that I have for  bead-making), I had to use my scrap office paper which I brought home last Wednesday. My coaster looks a little plain and might have been pretty if I used magazines and newspapers.

Anyway, here's the stuff that you'll need to make paper coil
  • A bunch of paper. I used 10 sheets of scrap substance 24 bond paper. You might need more paper if your bond paper is thinner
  • Scissors
  • Glue diluted in water (you can also use PVA Glue or Mod Podge)
  • Glue stick (optional)
  • Varnish (the only available varnish I could find was plastic varnish)
  • A bowl for the the glue diluted in water and varnish (I used the same bowl) 
  • Paint brush for brushing the diluted glue and varnish. I recommend using a separate brush for each because the bristles of my brush stuck together after using the varnish. Maybe it's the varnish I used? I dunno.

How to make a paper coil coaster

Cut your paper into quarters, lengthwise


Fold a strip in the middle, lengthwise


Open the fold and then fold the left edge towards the middle fold. Do the same for the right edge


Open the folds and put glue in the middle, then put back the folds.


Fold the strip lengthwise and glue together.


Continue making 40 strips. Coil the strips one at a time. Glue each piece to the coil.


To make a circle coil, tightly wind the the strips together. To make a square coil, begin with a circle coil using 20 strips and then start to loosely coil the strips and then form a square with the egdes after ward.


Dilute glue with water using 2 parts glue and 1 part water


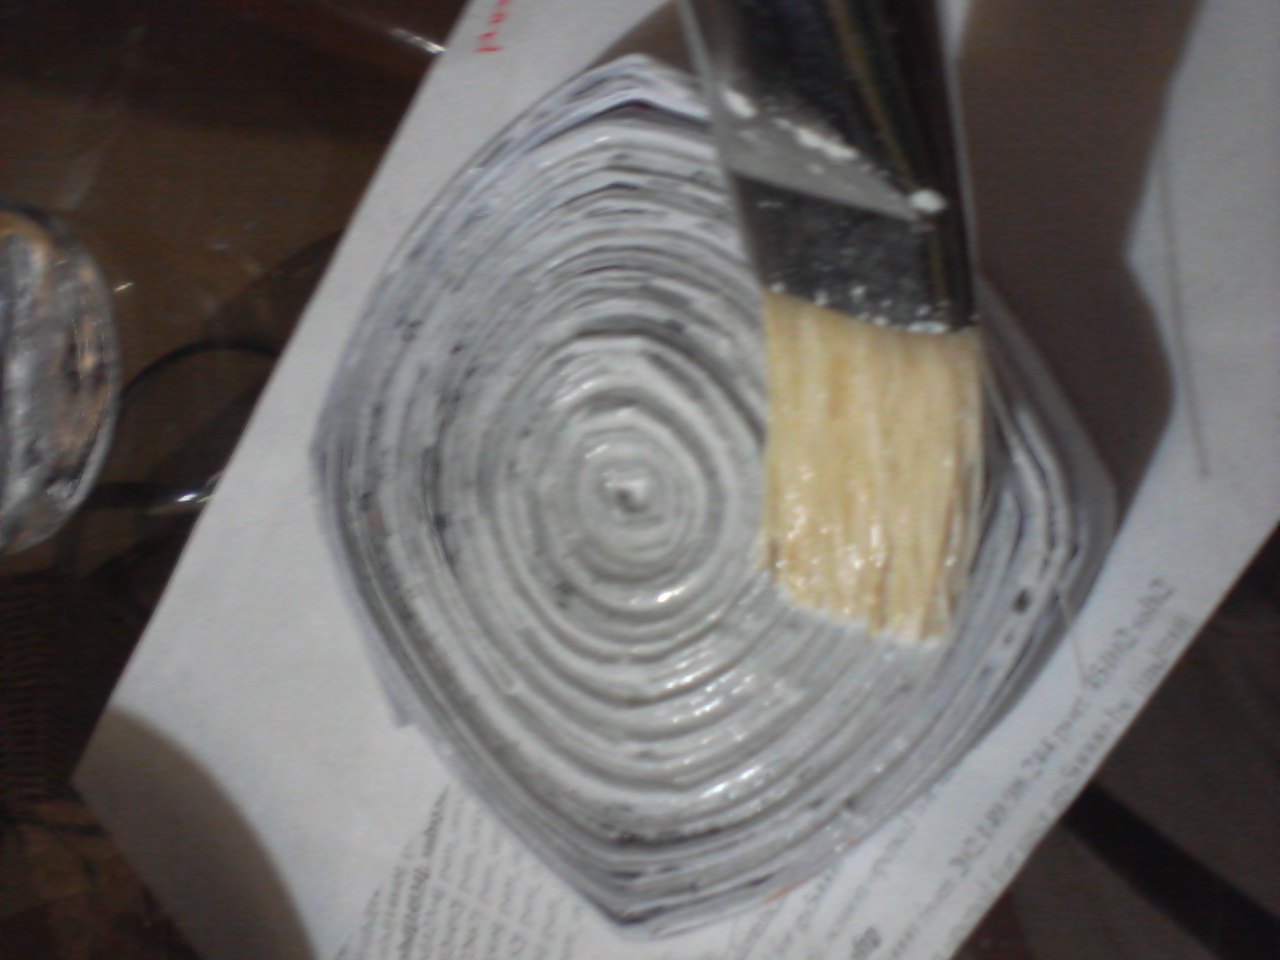
Brush the glue mixture to the coil to harden it


Dry the coil and then apply the varnish.


Let the varnish dry over night


Testing if it's waterproof - It was!


I made this coil for 4 hours. It took me a long time since I didn't really do it in a hurry. I was just taking my time, trying to perfect the cutting and folding of the strips. There were a few times when I wanted to stop, but I told my self I had to keep on going.


Since my coil is very plain, I might make another one, and paint it orange to match my favorite color. You can also pimp your coil in any way you want. You can add ribbons, strings, or even the magazine-made beads on the edge. Have it any way you want.

Tuesday, October 4, 2011

How to Make Paper Beads

Haven't we all wondered what to do with all our old magazine subscriptions? AT home, we usually keep them so that when we have a project wherein we need to cut out some pictures or articles, we have magazines ready; But the advent of the computer and Internet boom has rendered that obsolete already, since we just need to Google everything, right?

I was browsing the Net yesterday for ideas on how to recycle paper when I came across this Instructable, from my favorite website Instructables.com. It's a tutorial on how to make paper beads. The beads there looked marvelous and I really wanted to try it out. Perfect timing, when I went out to meet boyfie, Jollibee gave me a flier printed on magazine paper. So I tried making it, just for the heck of it and found it really enjoyable. Boyfie and my siblings were laughing at me because I was using this Energizer head lamp to trace lines and cut the paper.

I had fun making beads, and I kept on imagining the possibilities of this new hobby that I'm planning on taking up. Since I'm not all artistic and I have no clue as to how to make jewelry, I'll just experiment on different bead sizes first. When I have the time and budget to go out to Quiapo and look for necklace strings and stuff for making earrings, I'll make some jewelry and post it here. Heck, I'd probably sell them online if they look good enough.

I'll post instructions soon on how I did it, but the instructable above pretty much said it all.

how to make paper beads
Cut out triangles from your magazine. Discard 1CM triangle


how to make paper beads
Glue, ball pen tube (or similar)  for rolling, magazine triangles

how to make paper beads
Apply glue on the triangle

how to make paper beads
Roll the triangle on the ball pen tube

how to make paper beads
Add more glue in case it dried out

how to make paper beads
After fully rolling the triangle, roll it on the surface to lock in the end of the bead

how to make paper beads
These are the beads that I was able to make from the flier

Monday, October 3, 2011

Toilet Roll Core Trash Can


Ever since I was a kid, I had this knack for collecting toilet roll cores, thinking that I might use it for a project later on. I know, I know, ever since I was a kid, I've been a clutter bug already. Though I just throw to cores away after some time, cause I can't think of anything to make with them.


Trash can Project


Anyhoo, I saw this project about making a trashcan out of recycled magazines from crafster.org. It's lovely and I fell in love with it as soon as I saw it.

Toilet Paper Cores


Too bad for me though, I'm not subscribed to any magazine, and I think my stack of recycled paper won't look as wonderful as the magazines. Then I thought, "Hey! what about toilet paper cores?". For sure it would look different, but it's worth a shot right?

So I started collecting the toilet paper cores from the tissue rolls that I use in the office. My office seat mate and I share a roll, on average, we use 2 rolls a week. I also talked to the other girls in the office so that they'll give me their tissue cores. I asked the 2 office janitors who refill the tissue in the manager's CR to give me the cores.


Doing the Math


All in all after 2 weeks I have 12 tissue cores. I can make 8-9 rings per core, I'm thinking I'll need about 500 rings, so if I'll divide 500 by 8, then I'll need 62.5 cores. I know have 12, which leaves me 50.5 cores. If I follow the pattern of 12 tissue cores in 2 weeks, I can complete the number of cores in 25 weeks.

That's really too long for me, so I'll probably enlist the help of more friends, and also start collecting the tissue rolls at home.


I'll post photos and instructions once I finish making it :)